
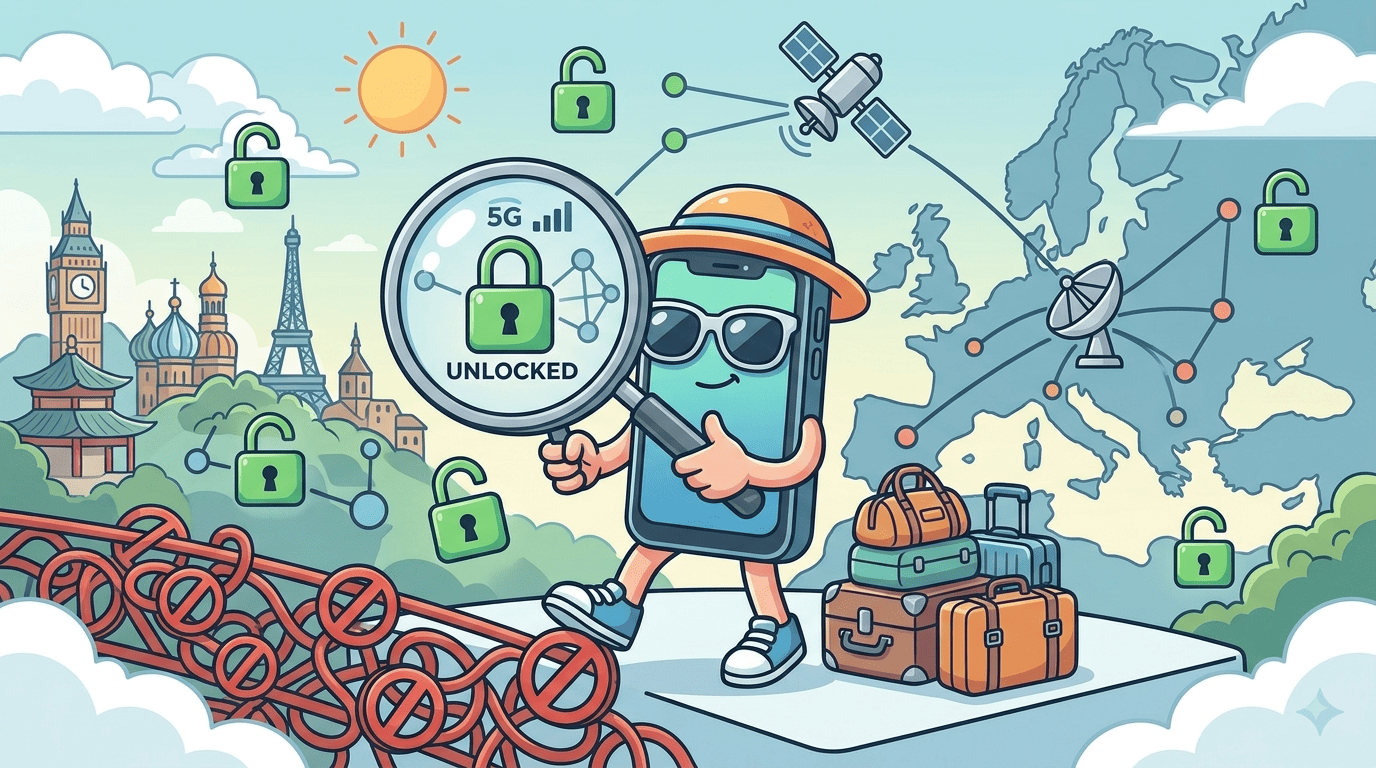
Buying a travel eSIM for China or Europe is quick, but installing it on a carrier-locked device will leave you stranded without data. Before purchasing any digital data plan, you must perform three quick checks to ensure your smartphone can activate third-party eSIM profiles.
1. Check Your Carrier Lock Status (Network Restrictions)
Even if your phone physically supports eSIM technology, your home network provider (such as AT&T, T-Mobile, Vodafone, or regional carriers) may have placed a software lock on the device—especially if it is paid via monthly installments.
iOS (iPhone)
Go to Settings > General > About. Scroll down to Carrier Lock. It must explicitly state “No SIM restrictions”. If it displays anything else, third-party eSIMs will fail to install.
Android (Samsung/Google)
Go to Settings > Connections > Mobile Networks > Network Operators. Disable “Select Automatically”. If only your home operator appears and manual searching is blocked, your phone is likely locked.
2. Prevent “Bill Shock”: Configure Your Dual-SIM Settings
Many travelers install a travel eSIM properly but still receive massive roaming bills from their primary home carrier. This happens because “Cellular Data Switching” remains enabled in the operating system settings.
- Set Primary Data to Your eSIM: Change your default Mobile Data line to the newly installed travel eSIM profile.
- Disable Data Switching: Turn off “Allow Cellular Data Switching”. This prevents your phone from silently using your home SIM when regional signals drop.
- Keep Voice Line Active (Optional): Keep your primary physical SIM enabled for incoming bank SMS codes, but turn **Data Roaming OFF** on that specific primary line.
3. Choose a Provider with Direct APN Auto-Configuration
Budget travel eSIMs often force you to manually type in complex Access Point Names (APNs) inside your cellular settings upon landing. If you misspell a single character, your data will not connect.
By choosing a verified travel eSIM provider like MobiMatter, APN settings configure automatically upon scanning the activation QR code. Once you touch down at your destination, your profile hooks directly into local network towers without extra setup.
Pro Tip: Always scan your travel eSIM QR code 24 hours before your flight using your home Wi-Fi. The profile will sit quietly in your settings until it detects foreign network towers after landing.
Leave a Reply